The Basics of Astrophotography
Sorry but the selected product is not available in the quantity you requested. Please enter your contact details below to see if we can accomodate your request


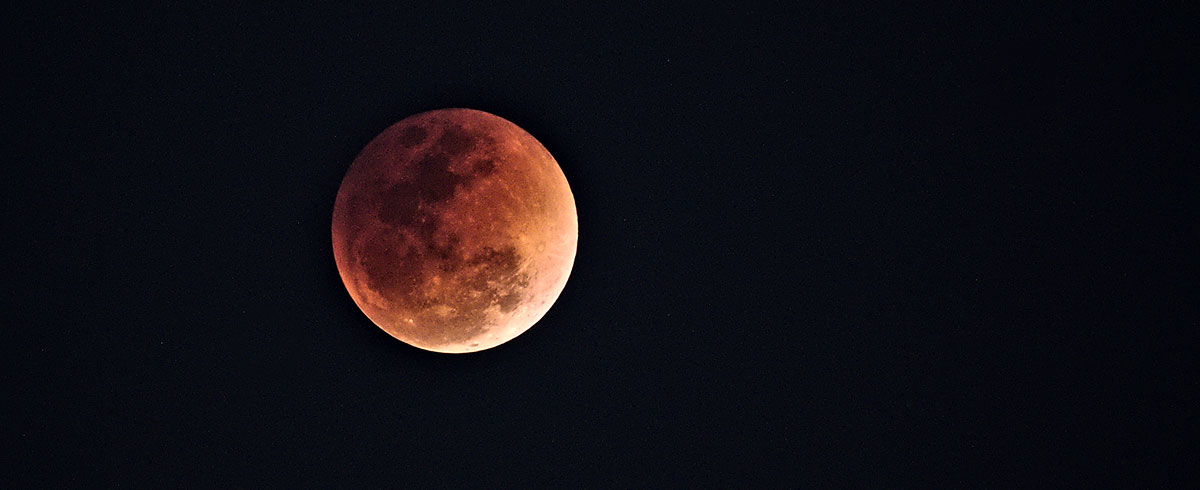
The evening of Jan 31, 2018 witnessed a beautiful lunar eclipse starting before moonrise and ending well into the night. A lot of Primes & Zooms customers were out shooting the moon that night and a few of them got great results while some came back with images that did not quite do justice to the beautiful sight.
Shooting celestial objects is not an easy task unless you have some practice with it. If you are a beginner and would like to understand how to take simple but great shots of the moon and planets, this article is for you!
Choose your subject:
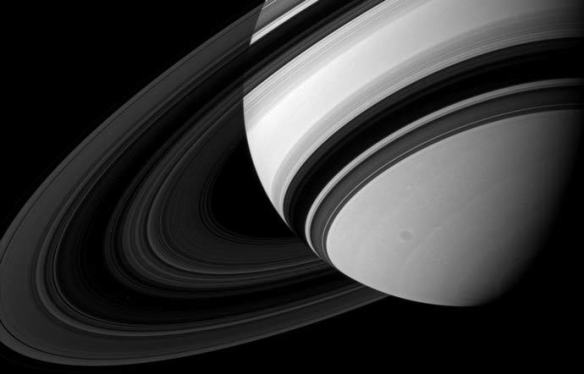
Close-up of the rings of Saturn shot by the Cassini spacecraft: your images will NOT look like this!
Astrophotography refers to photographs of the moon, planets and deep-sky objects such as nebulae, galaxies and star clusters. A popular misconception is that astrophotography involves taking high-magnification shots of deep-sky objects (such as the one above, for example). Unfortunately, you will need your own private equivalent of the Hubble, travelling past Saturn, to take such shots. There are serious limitations to what can be achieved with a camera and portable lens / telescope mounted on the surface of the earth. Beginners should simply start with shooting the moon and move to the fainter objects as they gather more skill and knowledge.
Understand the basics:
At the very least, you must know that the moon has phases and it waxes and wanes through the month. There are full-moon nights and there are no-moon nights. Moonrise times can be obtained from any astronomy app – most of them will also tell you what phase the moon will be in on a given date. The moon can look beautiful in any of its phases when shot right. If you plan to shoot any of the planets, you must know their precise location in the night sky and be able to point your camera and lens in the right direction (not as easy task for beginners). Shooting anything other than the moon is best done on a no-moon night.
When and where to shoot:
Regardless of what you are shooting, you must also decide when to shoot – you can shoot the object just as it rises above the horizon (or is close to dipping below it) or when it is directly overhead or sometime in between. Shooting just above the horizon can give you more appealing compositions but the depth of the atmospheric layer is the least when the object is overhead and your image will therefore be least affected by pollution, atmospheric temperature variations, light pollution, haze, etc. Setting up camera equipment to point directly overhead has its own challenges, though. I prefer to shoot when the object is halfway through its journey from the horizon (0 degrees alt) to overhead (90 degrees alt). The decision of when to shoot will also depend on the visibility from your shooting location – you must be aware, in advance, of any obstacles that could hinder your viewing in any direction. Also, shooting within city limits is very difficult due to light pollution but this should not be a problem if you are only shooting the moon. Fainter objects will require you to drive outside city limits.
Choose your gear:
Astrophotography can be done with either a camera attached to a lens or a camera attached to a telescope (prime focus photography) or a camera and lens shooting the image formed by a telescope (afocal photography). Since we are just starting out, we will take the first option – a DSLR camera attached to a telephoto lens. You do not need a monstrous prime (yet) – any lens equal to or longer than 200mm should be good to get you photos of the moon. A good tripod is essential. Ideal kit for this activity would be a mid-level crop-sensor camera (Canon 80D and above or Nikon D7200 and above), a 100-400mm or 150-600mm lens and a sturdy tripod like the Vanguard 283 series or Manfrotto 055 series. If you plan to take long exposures (and do not want star trails in your image), be aware that you will need an equatorial mount and some kind of tracking mechanism to compensate for the earth’s rotation.
Settings:
As soon as you start shooting, you will realise that a bright moon in a dark sky is one of those situations that fool the camera’s exposure meter. I prefer to expose manually in these cases but you may choose to stick to any of the auto-exposure modes and switch to spot metering. It is best to shoot on timer mode, especially if your setup is prone to vibrations. Remember to switch off image stabilisation if you are using a tripod. Some cameras will not autofocus depending on the amount of light available and you may have to focus manually. If your lens has a distance scale, this can be done by setting the focus ring to infinity on the scale (the start of the horizontal “L” mark). If your lens does not have a distance scale, try focusing on the farthest visible object and take test shots at different focus settings from there towards the infinity end of the focus ring’s travel. For high focal lengths, you must factor in the fact that at those magnifications, the moon will be moving very noticeably across your frame and your shutterspeed must be faster than the speed of this movement.
Shooting and Processing:
Most beginners take a few shots and assume they are done shooting. However, I recommend shooting for as long as you can. Sometimes shots taken just a few minutes apart can differ drastically in their sharpness due to atmospheric seeing so take as many shots at different settings as possible. You may also get lucky and be able to shoot an airplane or clouds moving past the moon. Once you are done shooting, some amount of post-processing will be required to enhance your images. Normally, a little cropping and contrast and sharpness enhancement should be enough.
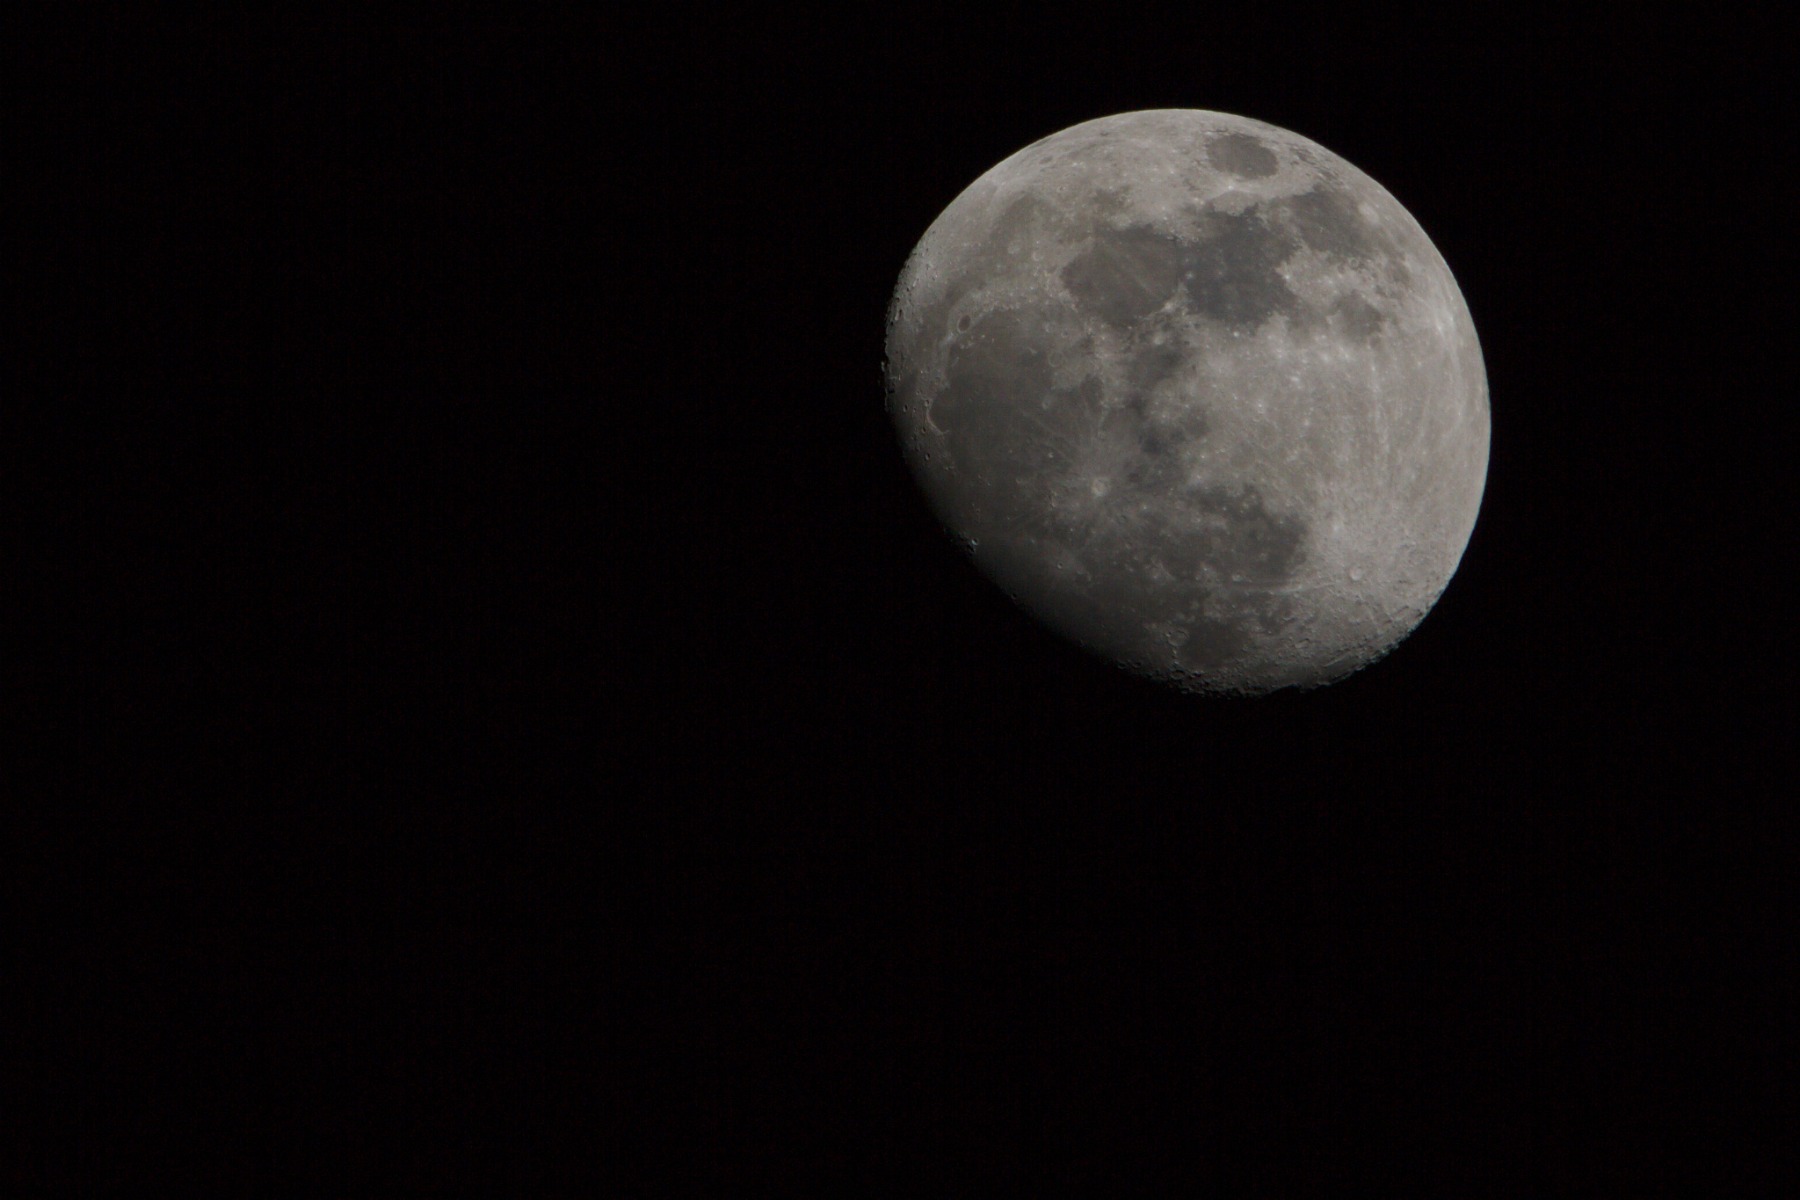
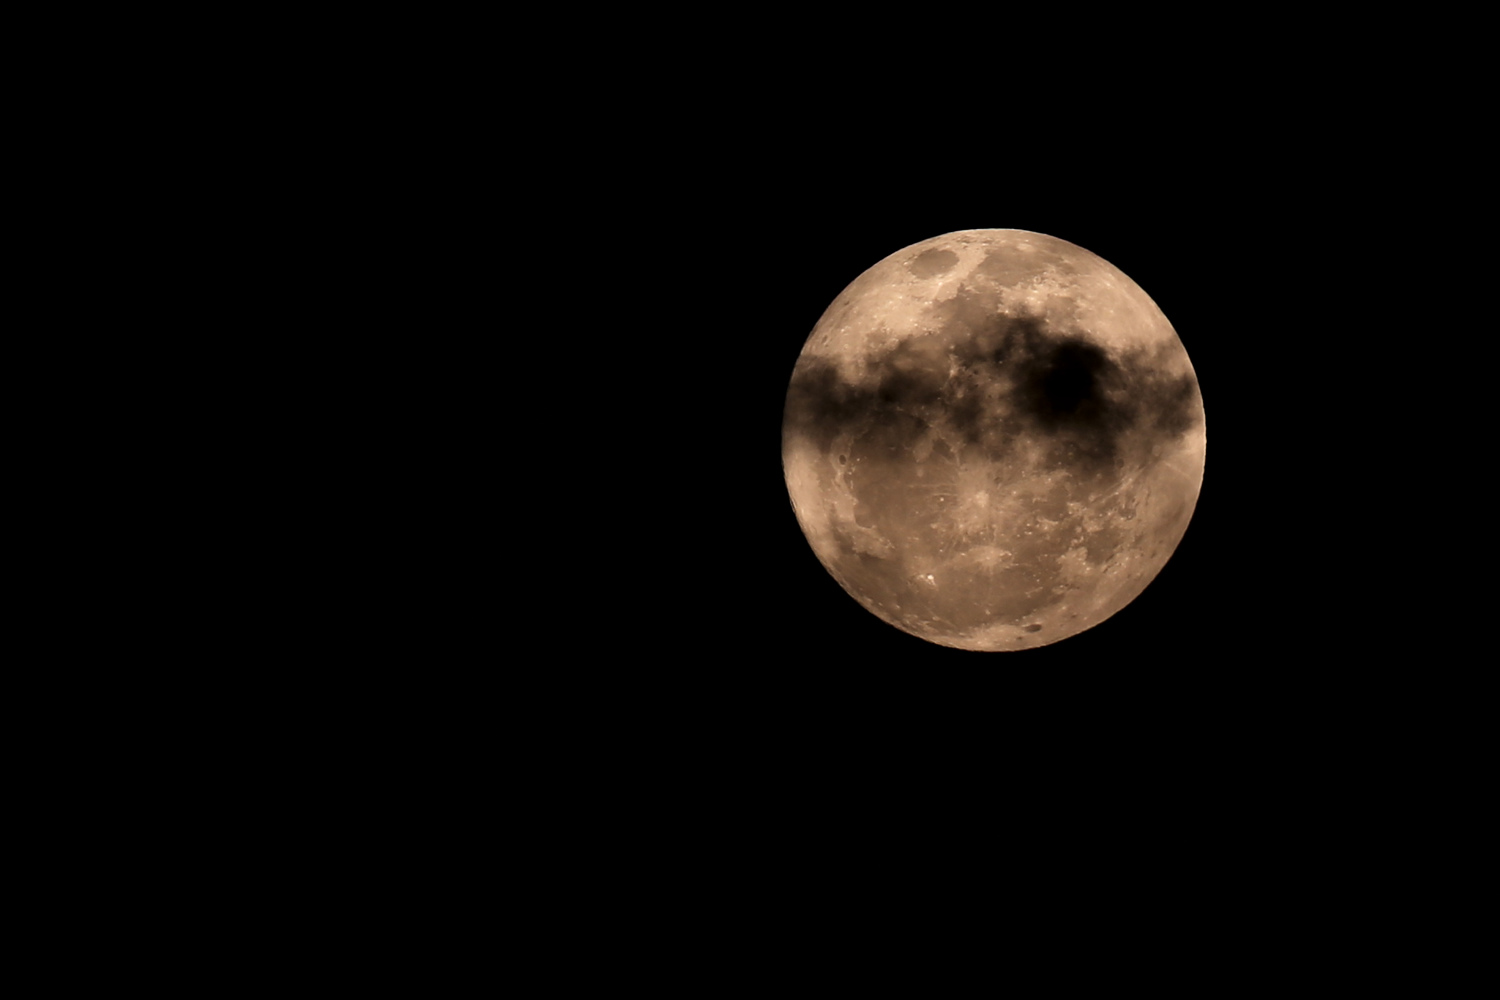
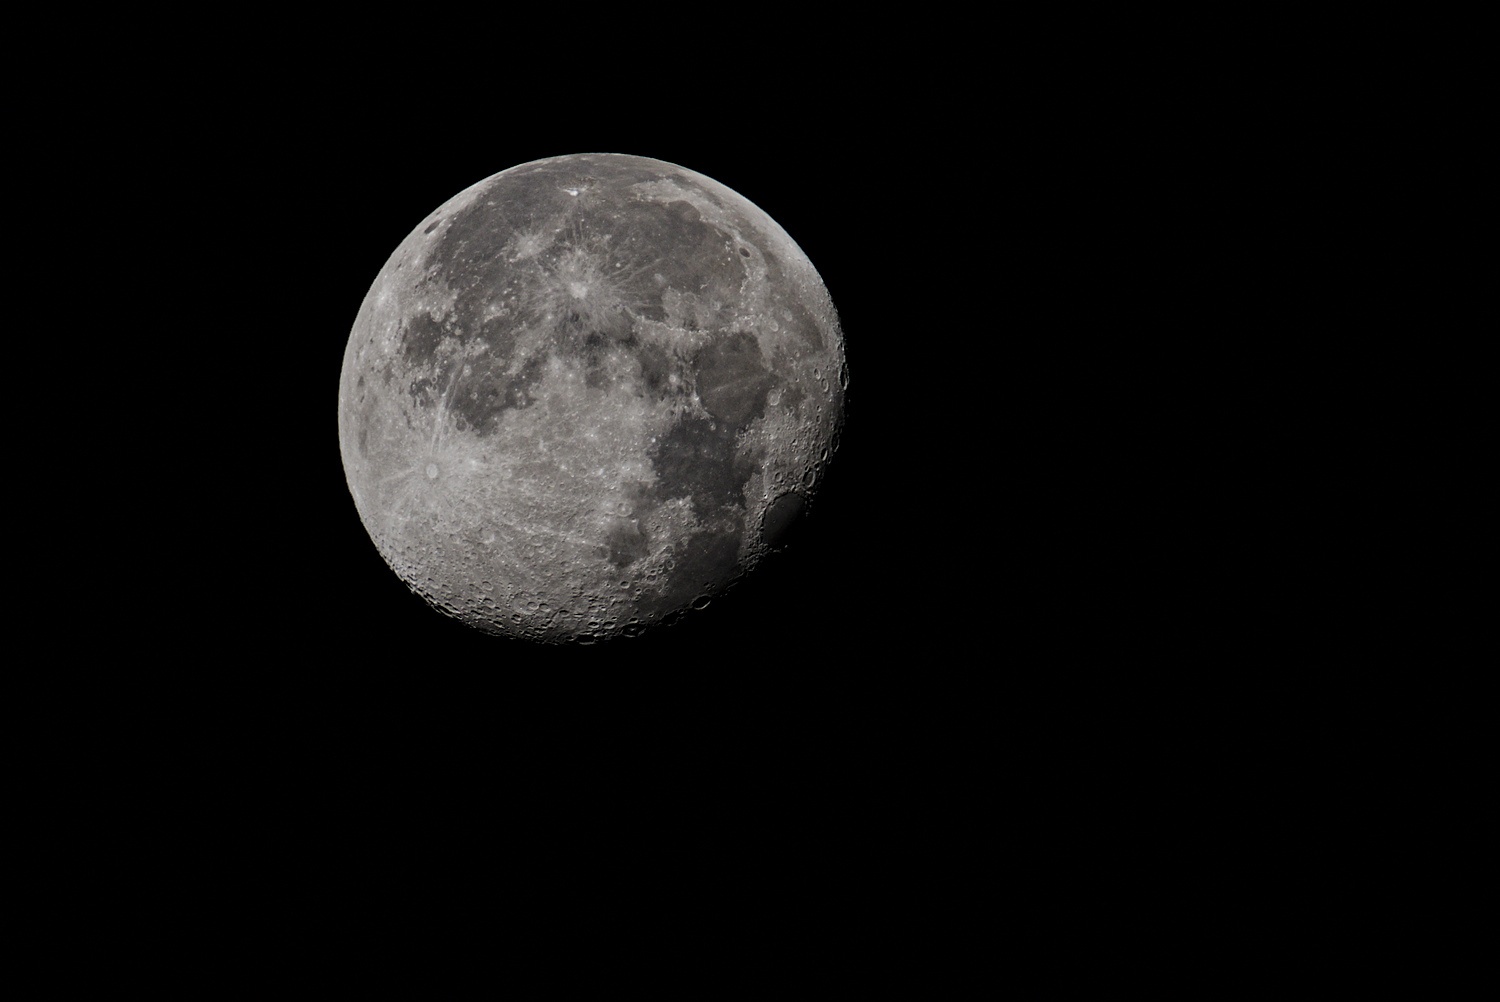
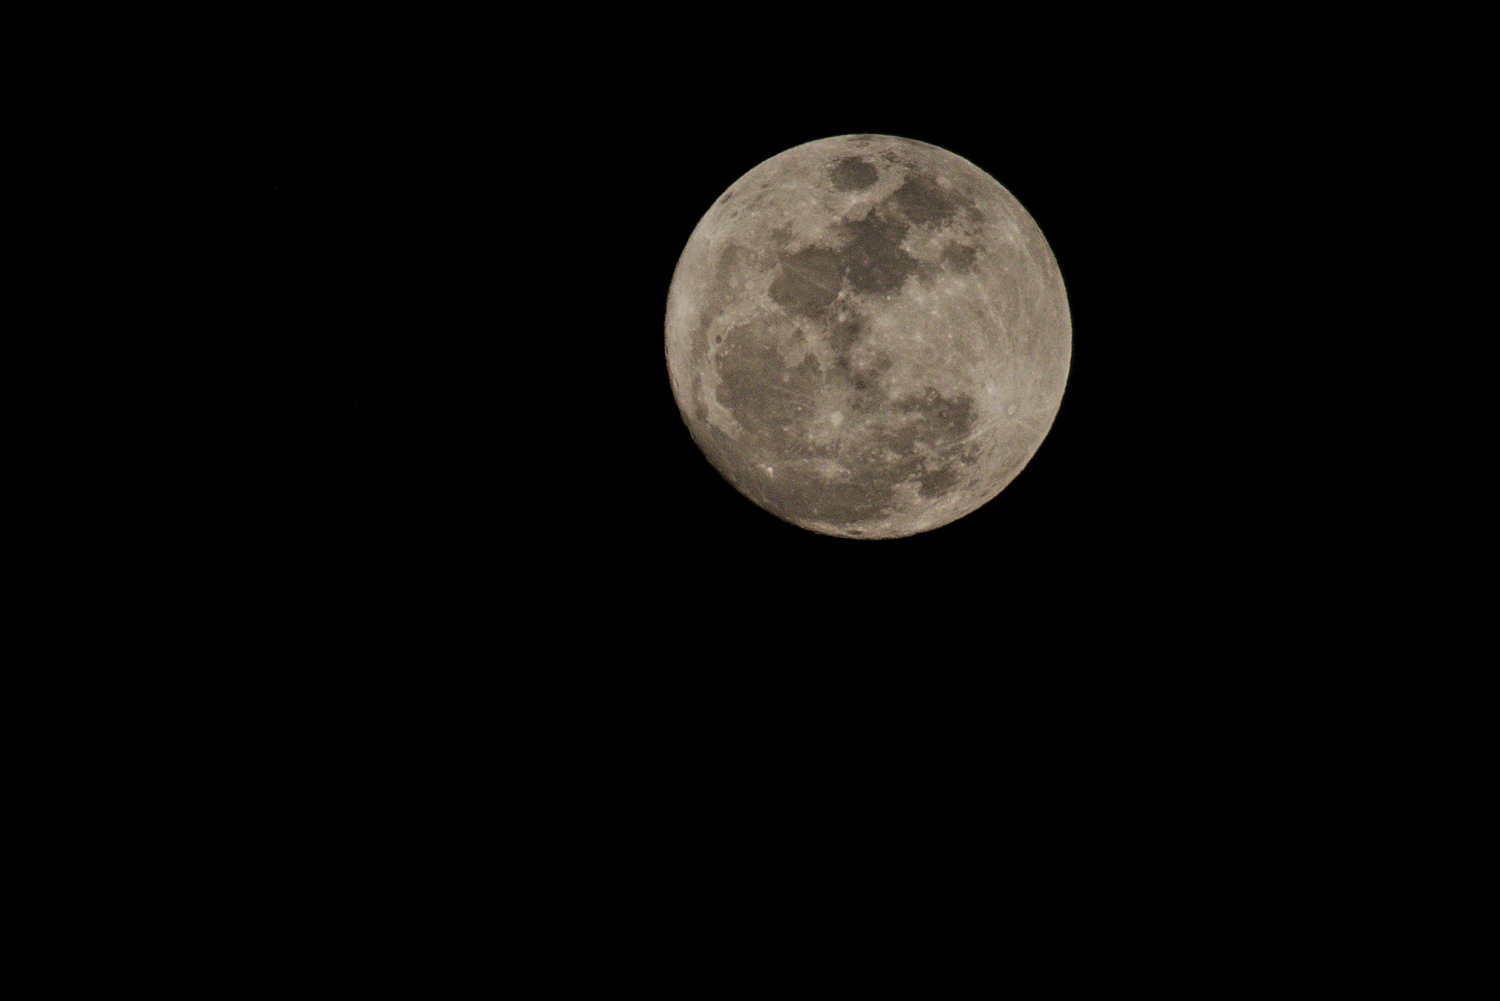
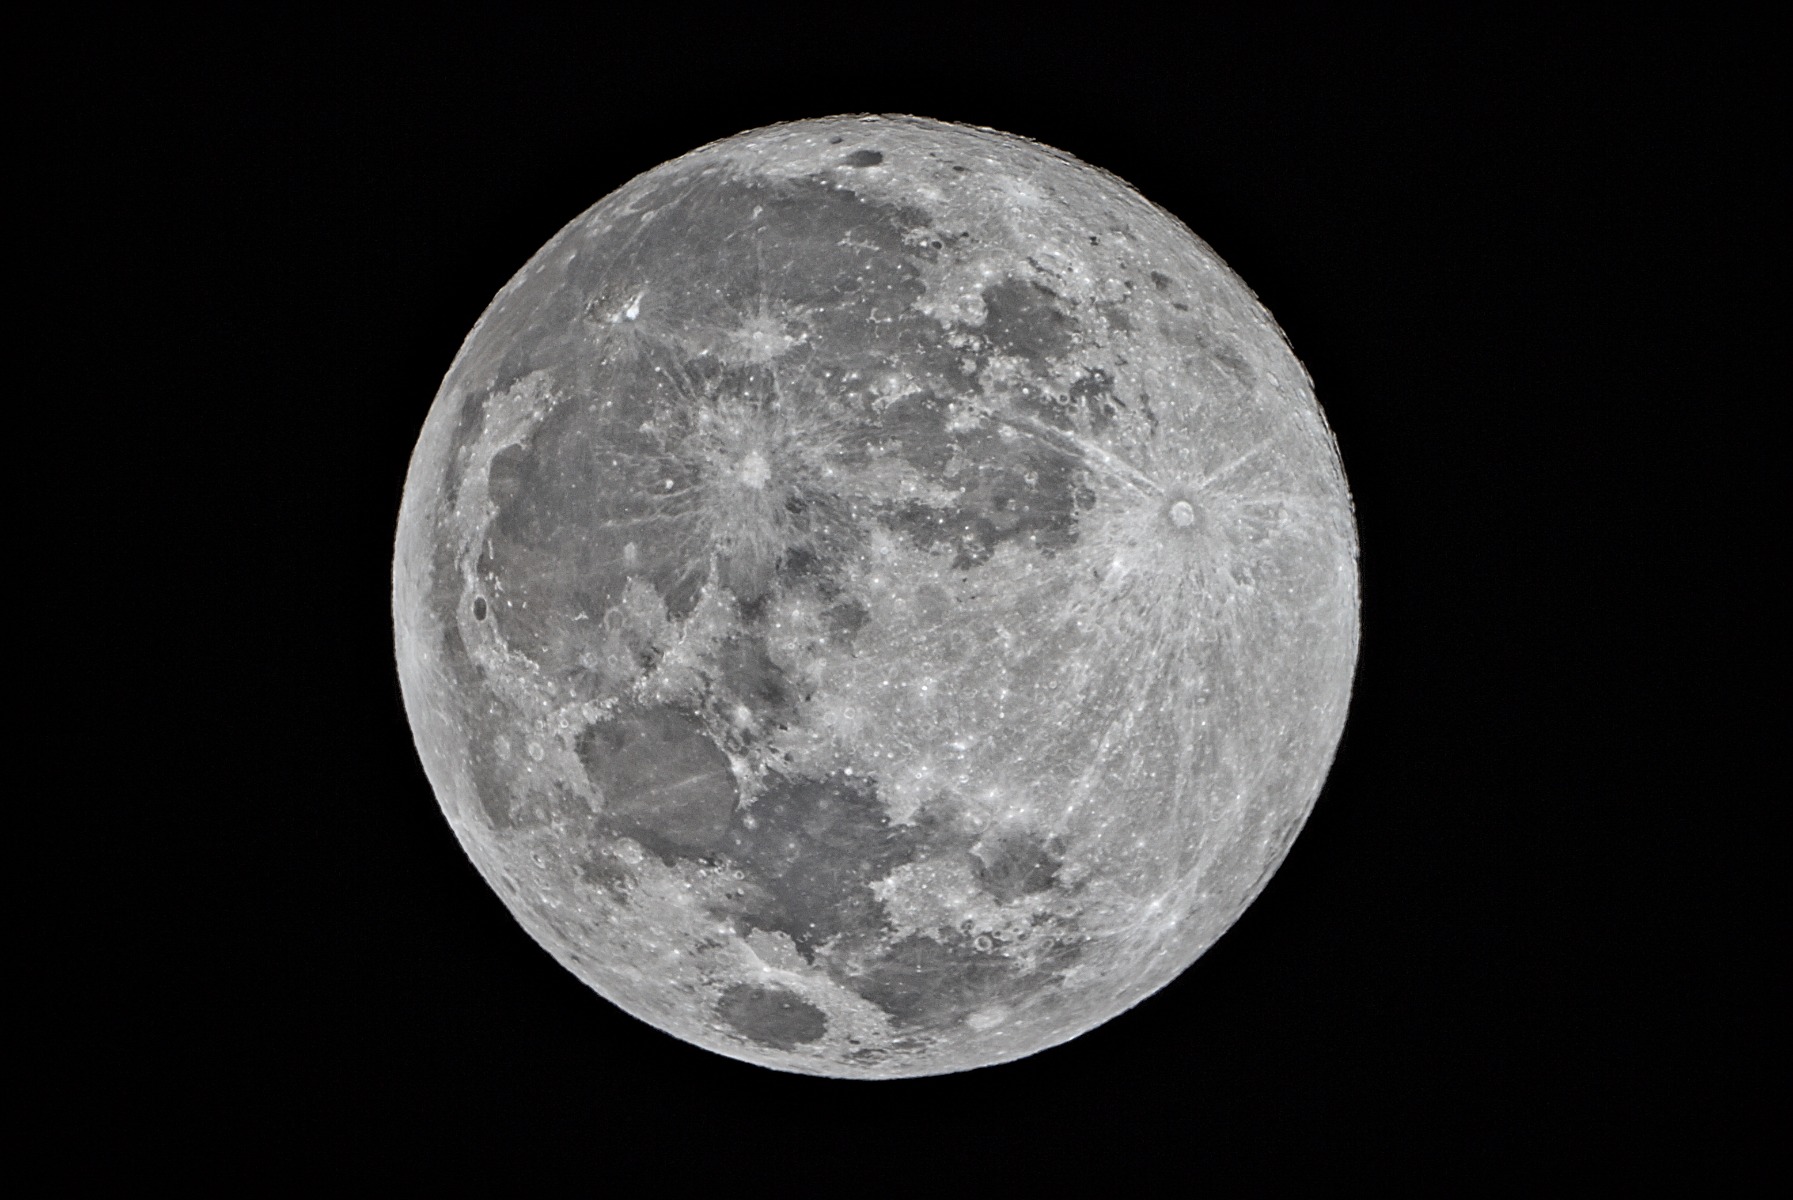
Astrophotography can be a very rewarding genre of photography but requires the investment of time and effort in understanding basic astronomy and being able to locate objects in the night sky. Most of the challenge of astrophotography is in pointing your camera in the right part of the sky! Here are some images of the moon that I have taken over the years with different sets of equipment (Note: all images are cropped and sharpened in post-processing).
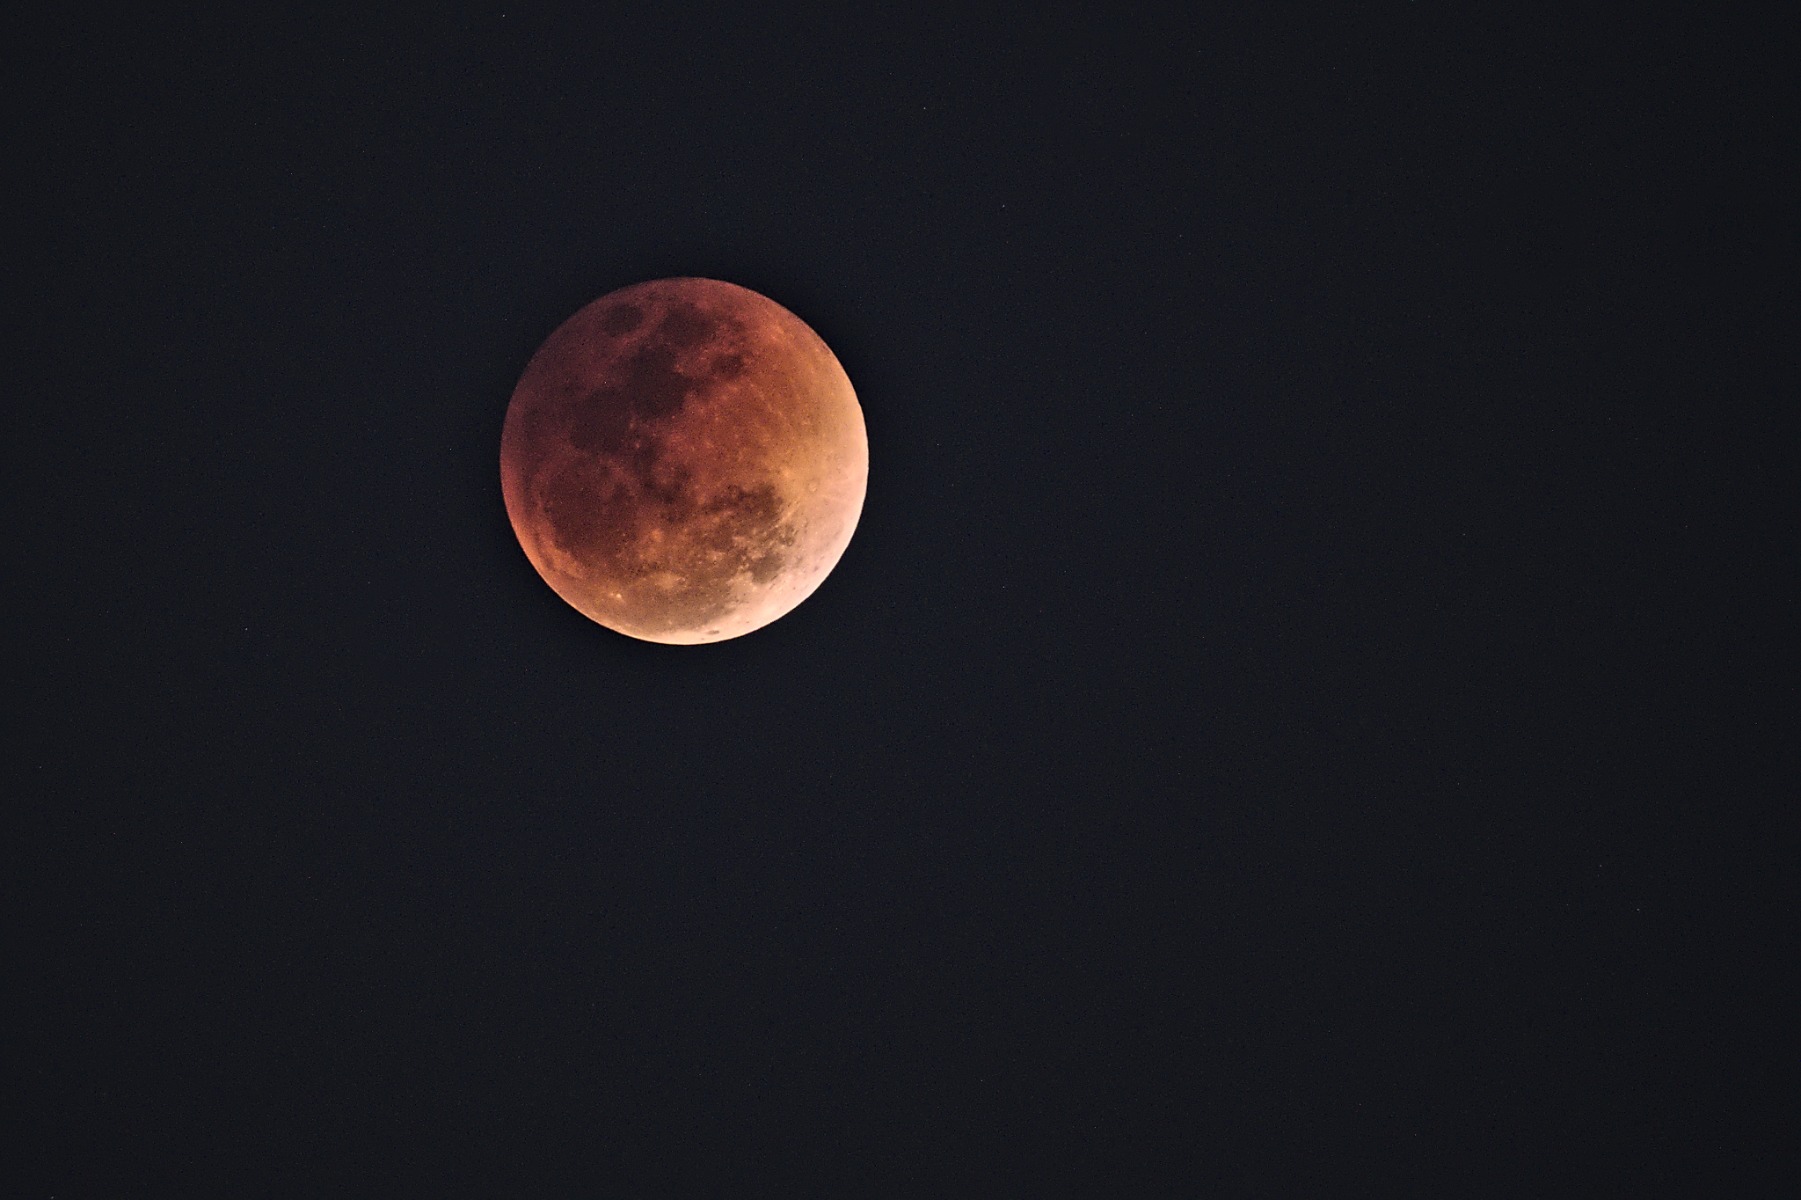
The Blood Moon on Jan 31 shot with a Nikon D500 mounted on a Nikon 500mm f/4 VR lens.
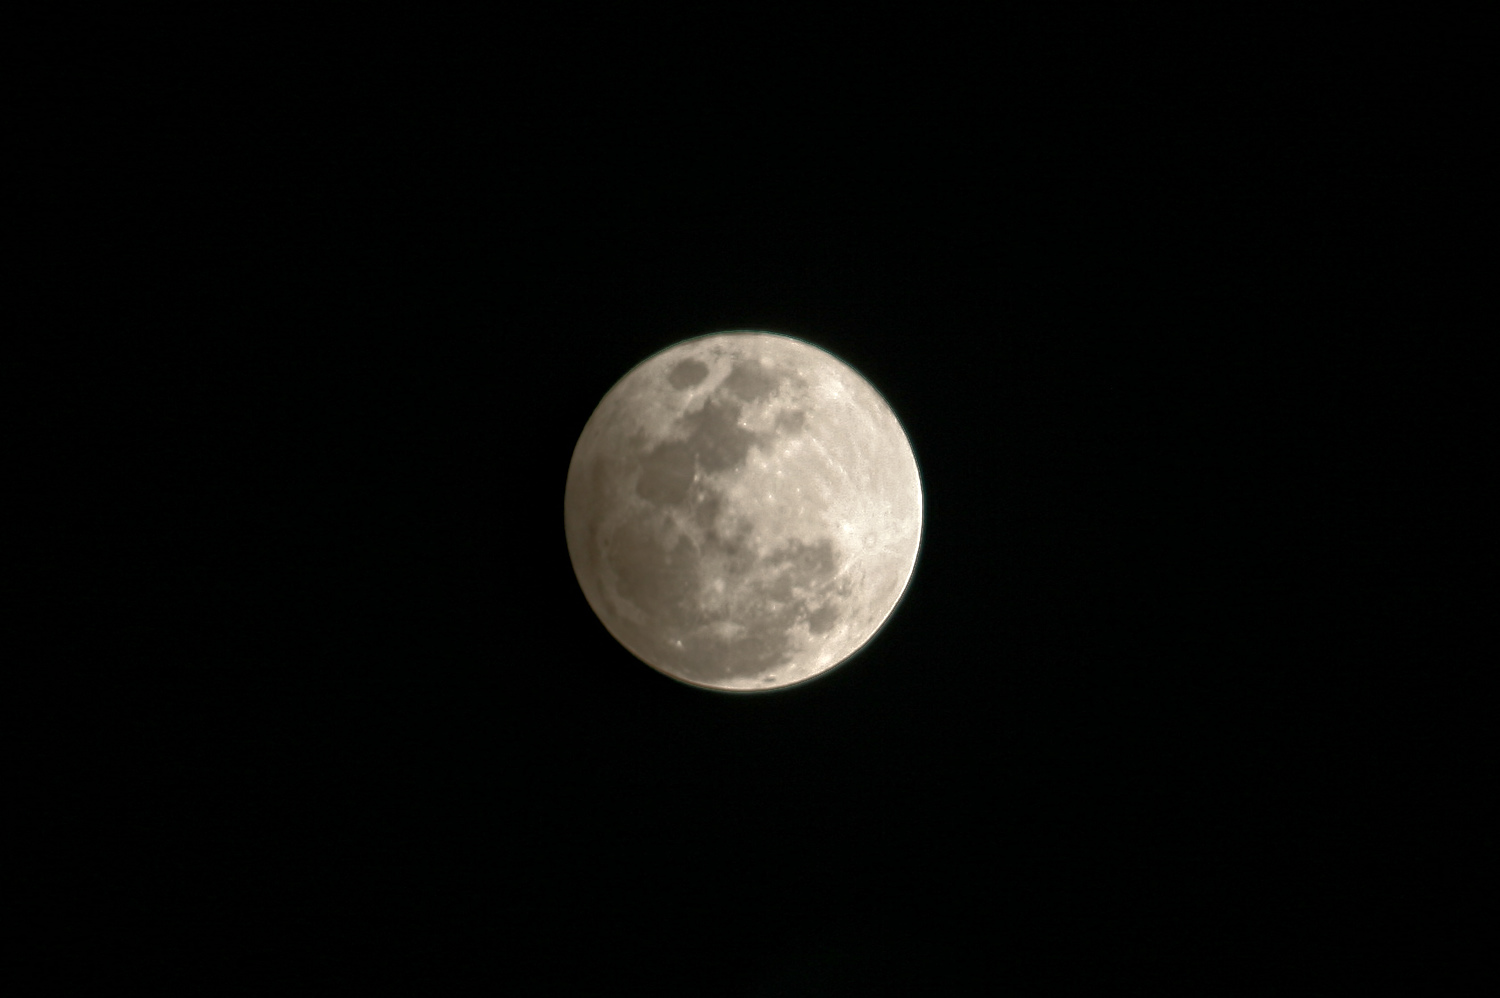
Shot with the Canon 400D and a Canon 55-250mm kit lens, February 2009
Shot in with the Canon 7D and Sigma 150-500mm lens, June 2012
Shot with the Canon 6D and Canon 400mm f/5.6 prime, February 2013
Shot with the Canon 7D Mark II and Canon EF 200-400mm f/4L, February 2018
Shot with a Canon 6D mounted on a Celestron 70AZ telescope, January 2015
Shot with a Sony A7S mounted on the Celestron Nexstar4SE telescope, April 2015
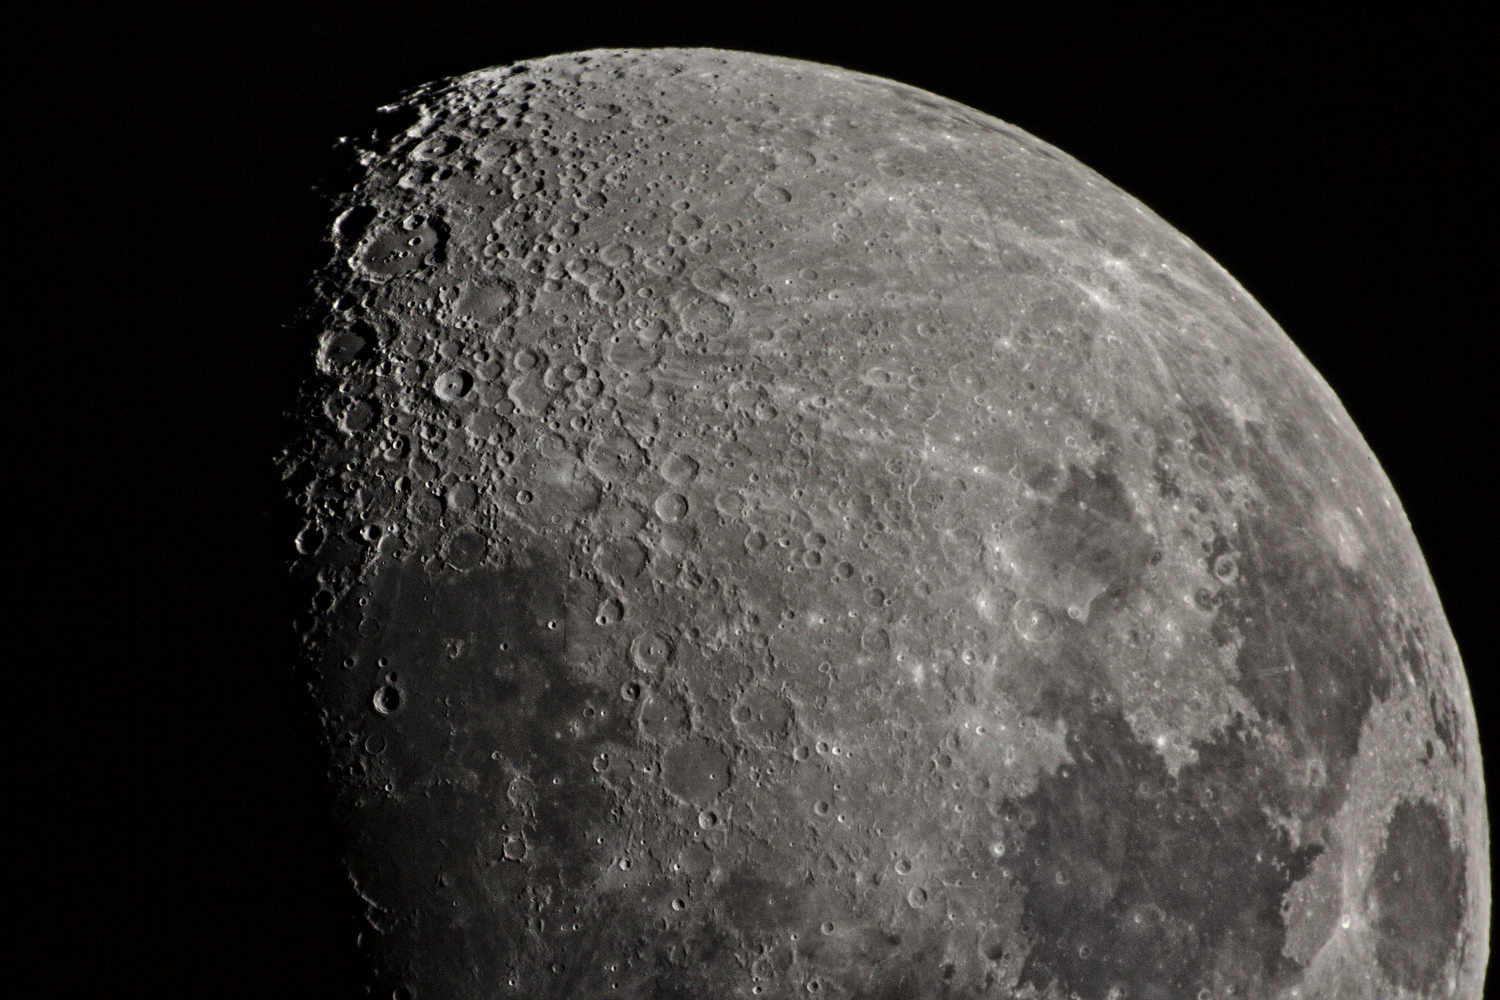
Shot with a Canon 5D Mark III mounted on the Celestron Nexstar4SE telescope, October 2015
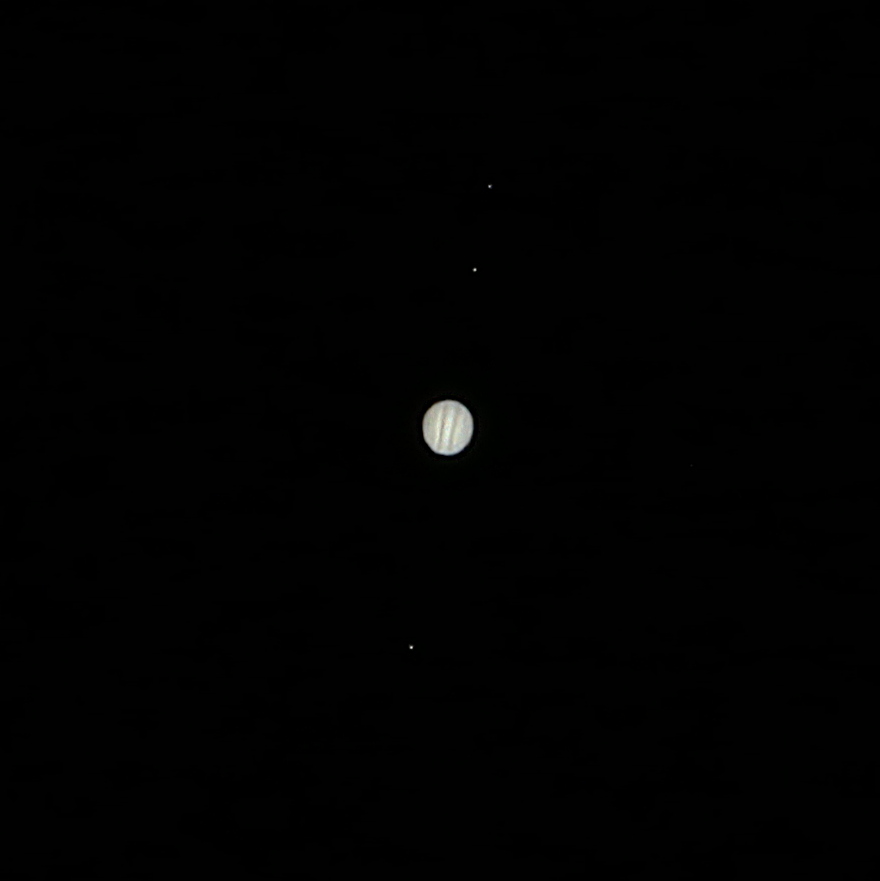
Jupiter and its moons shot with a Canon 5D Mark III mounted on the Celestron Nexstar4SE telescope, March 2015
-Abhijit Mutha,
Founder, Primes & Zooms